
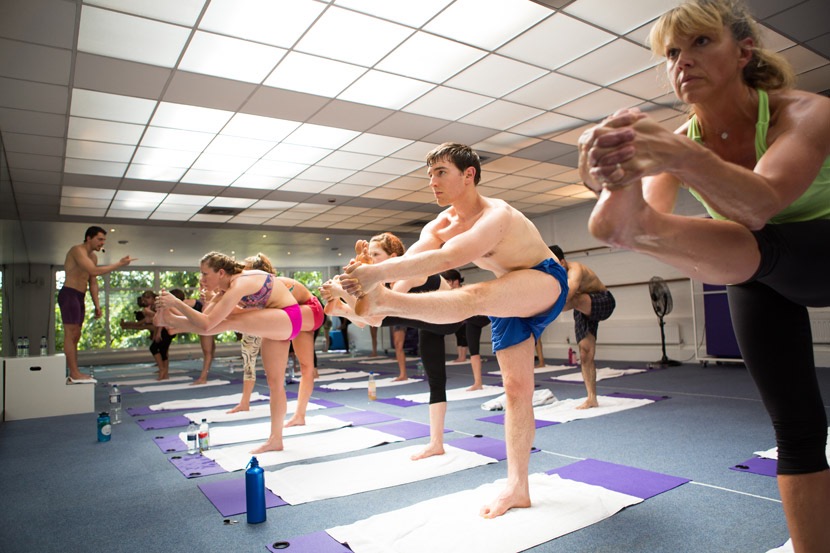
Standing Head to Knee Tips
 You may think party time (our little water break) is over,
but the real party has just started!
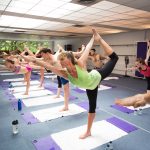
Standing Head to knee is a wonderful, challenging pose, every yogi/ini from the most advance practitioner to the first-timer are challenged and,
in this, we are all united and focused.
I was tempted to write ‘LOCK THE KNEE’ here and leave it at that, but this posture is so much more! Nevertheless, in most of your classes, the teacher will start this posture with a ‘Lock The Knee’ lecture. The reason for this and the repetition time and time again, is not because we are a group bonded by our obssesion with knees. There is a potential for injury, when kicking out on a bent knee: you put undue pressure on the lower back and you leave the knee open to injury, if it twists. So, guys and galls, let’s learn the hows, wheres and whys to that locked knee.

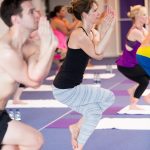
With those stomach mucles still engaged, hinge forward at the waist and pick up ball of the right foot, never loosening your grip. If you are unable to pick up the foot, then start simply by bring the leg up and extending the arms out, hovering the palms along the sides of the knee. NEVER GRAB THE KNEE. Every class see, if you can move the arms/palms lower down, closer to the foot. Eventually, as your flexibility improves, the foot will be yours. Always challenge yourself and you will make it.
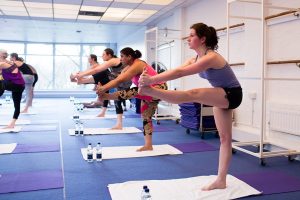 Stage 2: – Kicking out.
Once this is achieved, you have successfully completed stage 2.
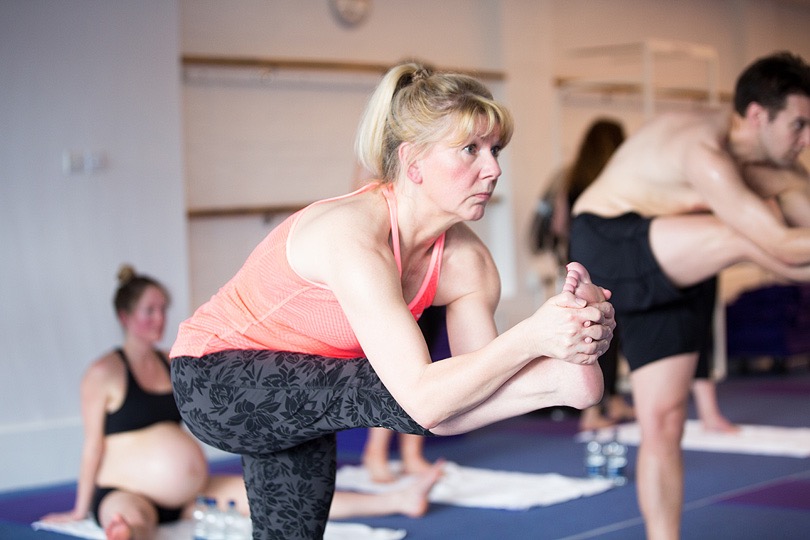 Stage 3: – Elbows down.
Your left leg is locked out, quad engaged, leg is unmoving, your right leg is out straight (quad also engaged), the heel continuously kicking towards the mirror and your toes are turning in towards your face. Hips are in one line and you are solid.
Now bend your elbows and move them down till they are hugging the calf muscle, with the tips of your elbows below the calf.
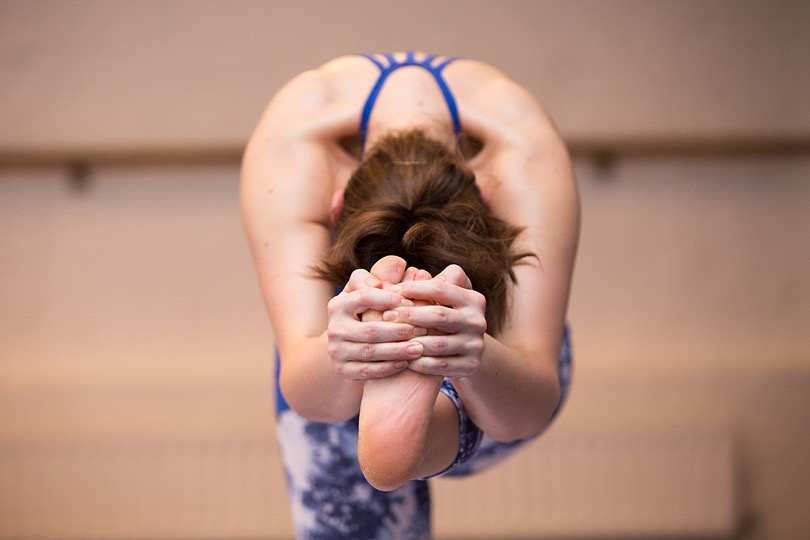
 Stage 4: – Head to knee.
Now you are ready for the final stage of the posture. First, shift your gaze downwards. Tuck your chin to your chest and come down till your forehead is touching your knee. All the time keeping your stomach muscles engaged, both legs engaged and quadriceps contracted, heel continuously kicking towards the mirror and toes turning in towards your face, with the fingers and thumb tightly interlaced around the ball of your foot. You are AWESOME! Look at what you have achieved. Slow and steady really does it with the Head to Knee race.
Now come out the way you came in, stage by graceful stage: curl up and untuck the chin, bring the elbows back up, bend the right leg at the knee, release your grip and return the foot to the floor.
DANDAYAMANA-JANUSHIRASANA
standing head to knee
standing head to knee
Benefits:
Builds mental strength.
Improves concentration.
Unifies mind and body.
Uses all major muscle groups.
Exercises digestive and reproductive organs.
Good for diabetes.
Strengthens back muscles.
