
The belly down series is done! The end is in sight! It is time for the healer of the knees, Fix Firm Pose. For many of us with knee injuries and those who have been playing high impact sports on the knees and ankles; this posture can be our nemesis. It can feel like we will never achieve the full expression. Go gently step by step and over time, with correct alignment, you will get there. Never rush, never skip ahead, never do anything where there is pain in the knees or ankle. There is a stage of this posture for everyone. So lets get going and find yours!
1 – It is important to move slowly in and out of this posture. Listen to the feedback of your body and never push into anything that is painful. Go to your personal edge, where ever that may be, and stay there. Your knees should never lift off the mat at any stage of this posture. Your ankles should be straight and your toes pointing to the back wall.
2 – Come to the top of your towel, sit with your knees together, feet wide enough apart to sit your bottom down on the towel. You may need to role your calf muscles out of the way, as you want your legs, ankles tight to your body. If your bottom is not on the mat, try opening your knees apart, keeping the ankles/heels tight to the hips, until your bottom rests on the mat.
3 – If you are still unable to sit your bottom firmly down on the mat, then place your hands down; either at your side or in front of your knees and redistribute your weight, so some it is through your hands taking the pressure off your knees. You never want to feel pain through your knees and ankles. Some of us may need to start this posture from an all fours position, gently moving the weight back class by class. Remember every day is different and our body is different class to class. Eventually, your knees and ankles will open up, allowing your alignment to deepen.
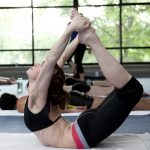
4 – If your bottom is on the mat, place the palm of your hands onto your toes, with the thumbs inside, fingers outside. Touch your right elbow to the floor and then your left.
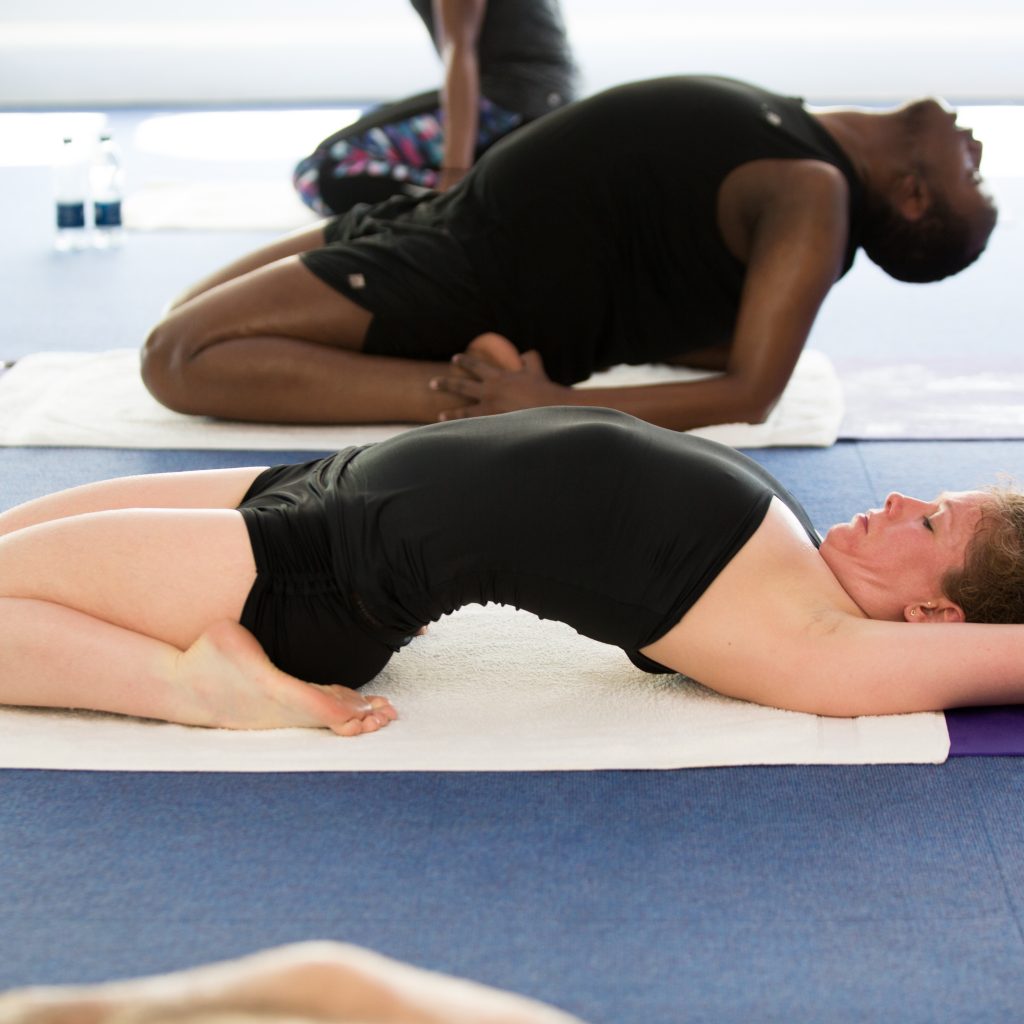
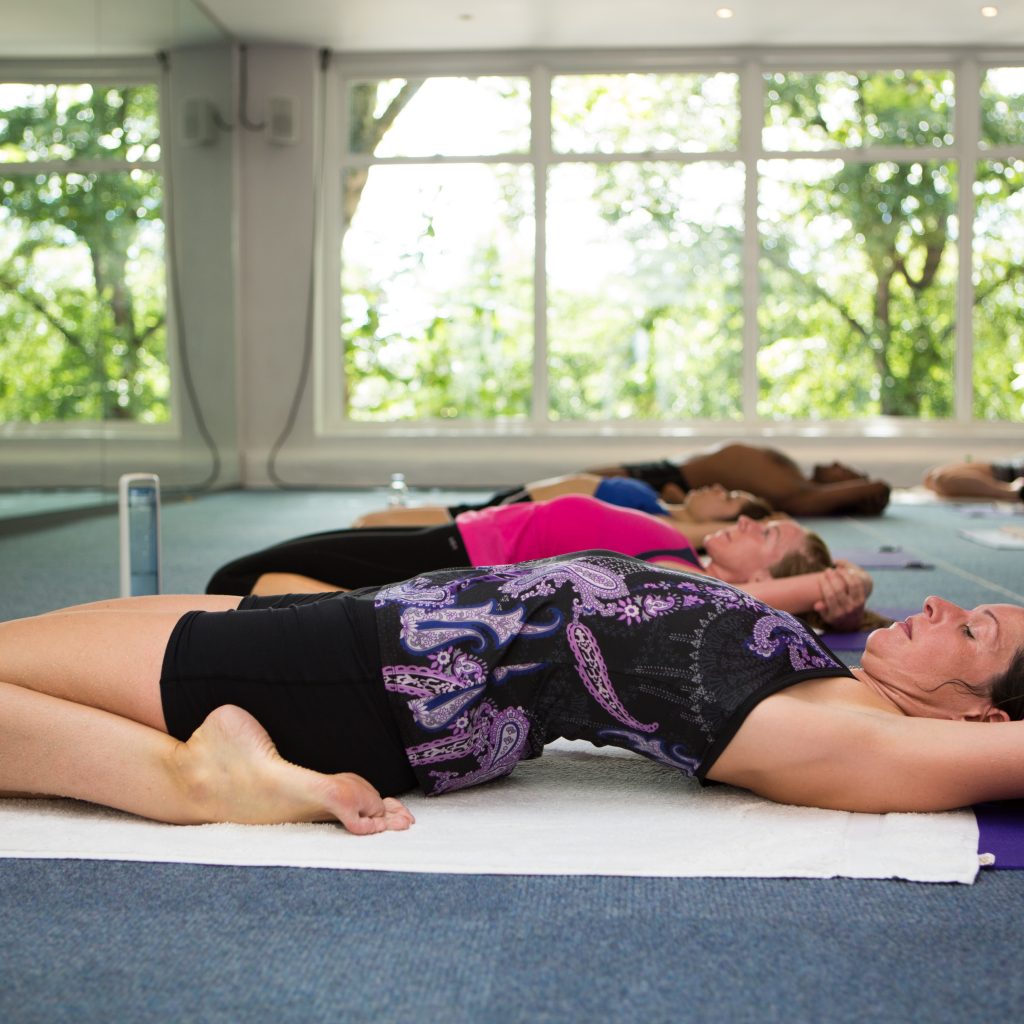
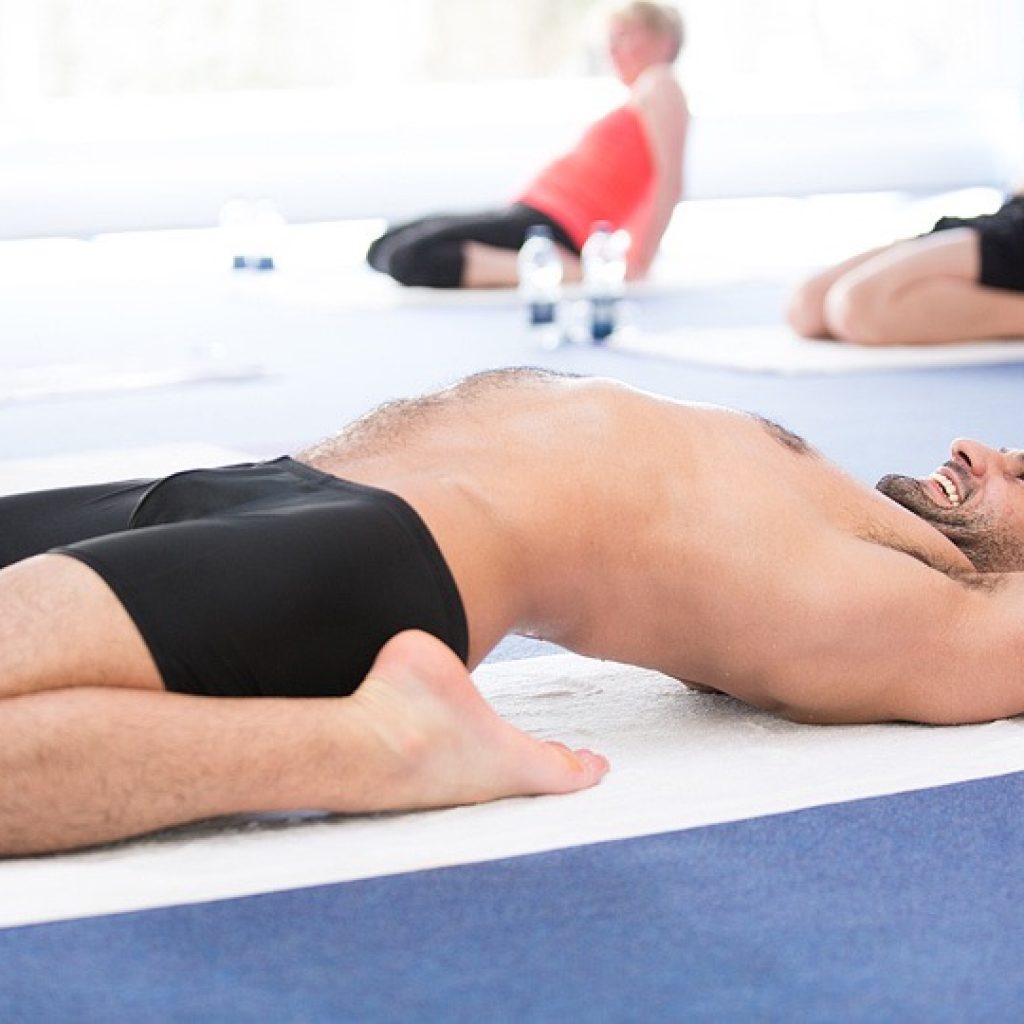
5 – Lift your chest, drop your head back. Touch the top of your head on the floor and then the back of your head on the floor. Followed by your shoulders and then your whole upper body relaxes onto the floor.
6 – Bring your arms over your head, grabbing the elbows. Pull your elbows down towards the floor. Moving your shoulders down towards your hips.
7 – Chin down towards the chest, so your neck is flat on the floor.
8 – Lifting your chest and stomach up towards the ceiling, creating a perfect arch under your body. If you want some arch motivation check out our teachers below. Andy was able to fit a melon under his back, whilst Briars’ beautiful bendy spine arched to fit a watermelon… impressive work guys!


9 – Once you are back, try to bring your knees back to touch together, making sure they NEVER come off the ground. Same with your bottom. If you have come back, at no stage does your bottom lift off the floor.
10 – Keeps your eyes open throughout the posture, breathing normal, in and out through your nose.
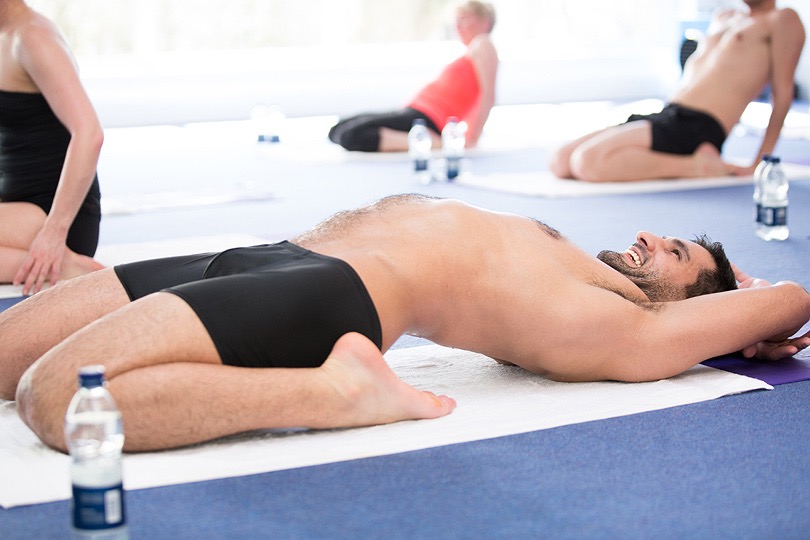
11 – To come out, put your hands on your feet and with the help of your elbows carefully and slowly come up.
SUPTA-VAJRASANA
fixed firm
fixed firm
Benefits:
Helps conditions of sciatica, gout, varicose veins and rheumatism in the legs.
Slims and tones thighs, firms calf muscles and strengthens the abdomen.
Strengthens and improves flexibility of lower spine, knees and ankle joints.
Lubricates and increases circulation to joints.
Strengthens and lengthens abdominal muscles.
Creates a great stretch into hip joints and diaphragm.
Relieves lower back pain.

