
Pada-Hastasana Tips
 So you have just rocked out an awesome backbend, and you are stood in your central position: arms straight over your head, elbows locked, palms squeezed together tightly, legs, buttocks and core are all engaged.
Keep breathing in and out throught your nose.
KEEP BREATHING IN AND OUT THROUGH YOUR NOSE, for the entire class (apart from the two breathing exercises and the Sit-Up). In some postures, this maybe challenging, but never hold your breath. Backbends are often a place where people hold their breath. You may not even realize you are doing it. However if you come out of a backbend fighting for your breath and a little light head, then it is more than likely you were not breathing. Focus on the breath and everything else will follow. A little tip for those postures, like a backbend, where you find you are struggling to breathe (rather then focusing so hard on the posture and forgetting to breathe which we’ve all done, trust us it doesn’t help) is 80% + 20% breathing. Fill you lungs up before going into the posture, then when you are in the posture just breathe using the top 20% out, 20% back in, always though your nose.
bend your legs when coming down.
Now its time to channel your inner Beyonce/ Shakira/ Mick Jagger and rock out your best hip wiggle. Hands on the floor, gentle bend one knee and then the other moving your hips and stretching out your legs, lower back, and hips, you can even squat down a few times.
“This is a U-Turn from a back bend to forward bending, so please be careful, your spine is not warmed up yet.”
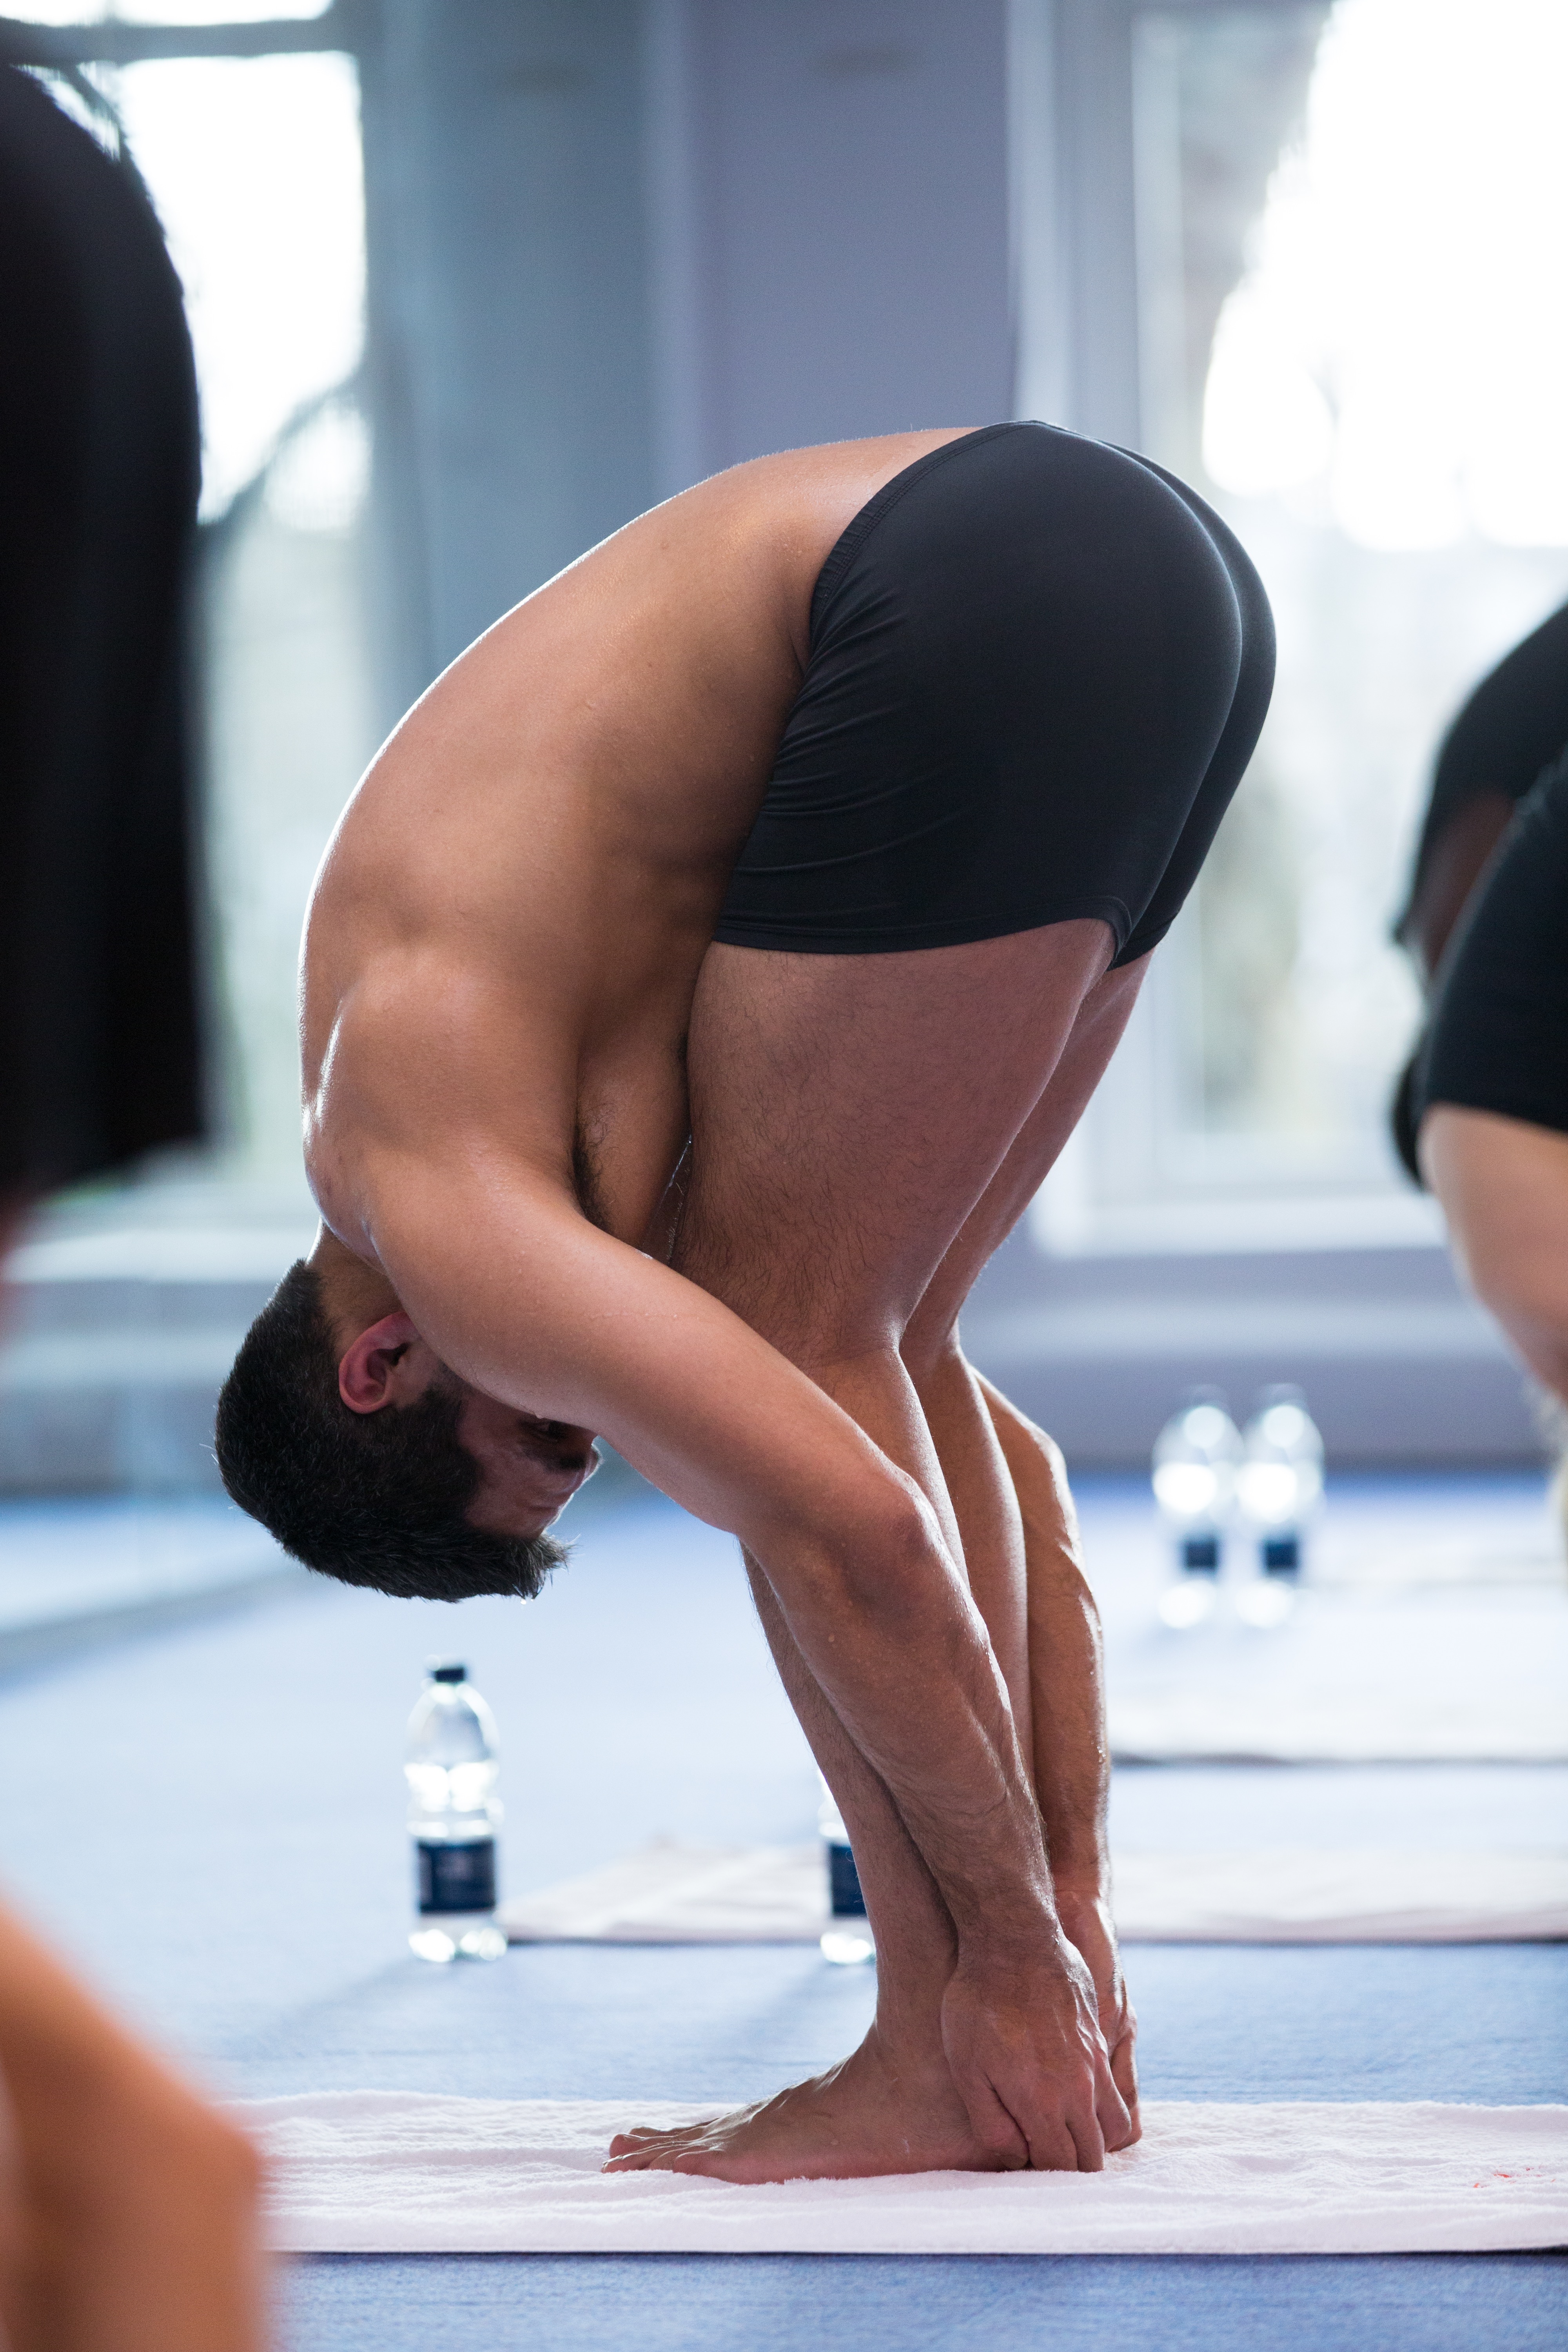
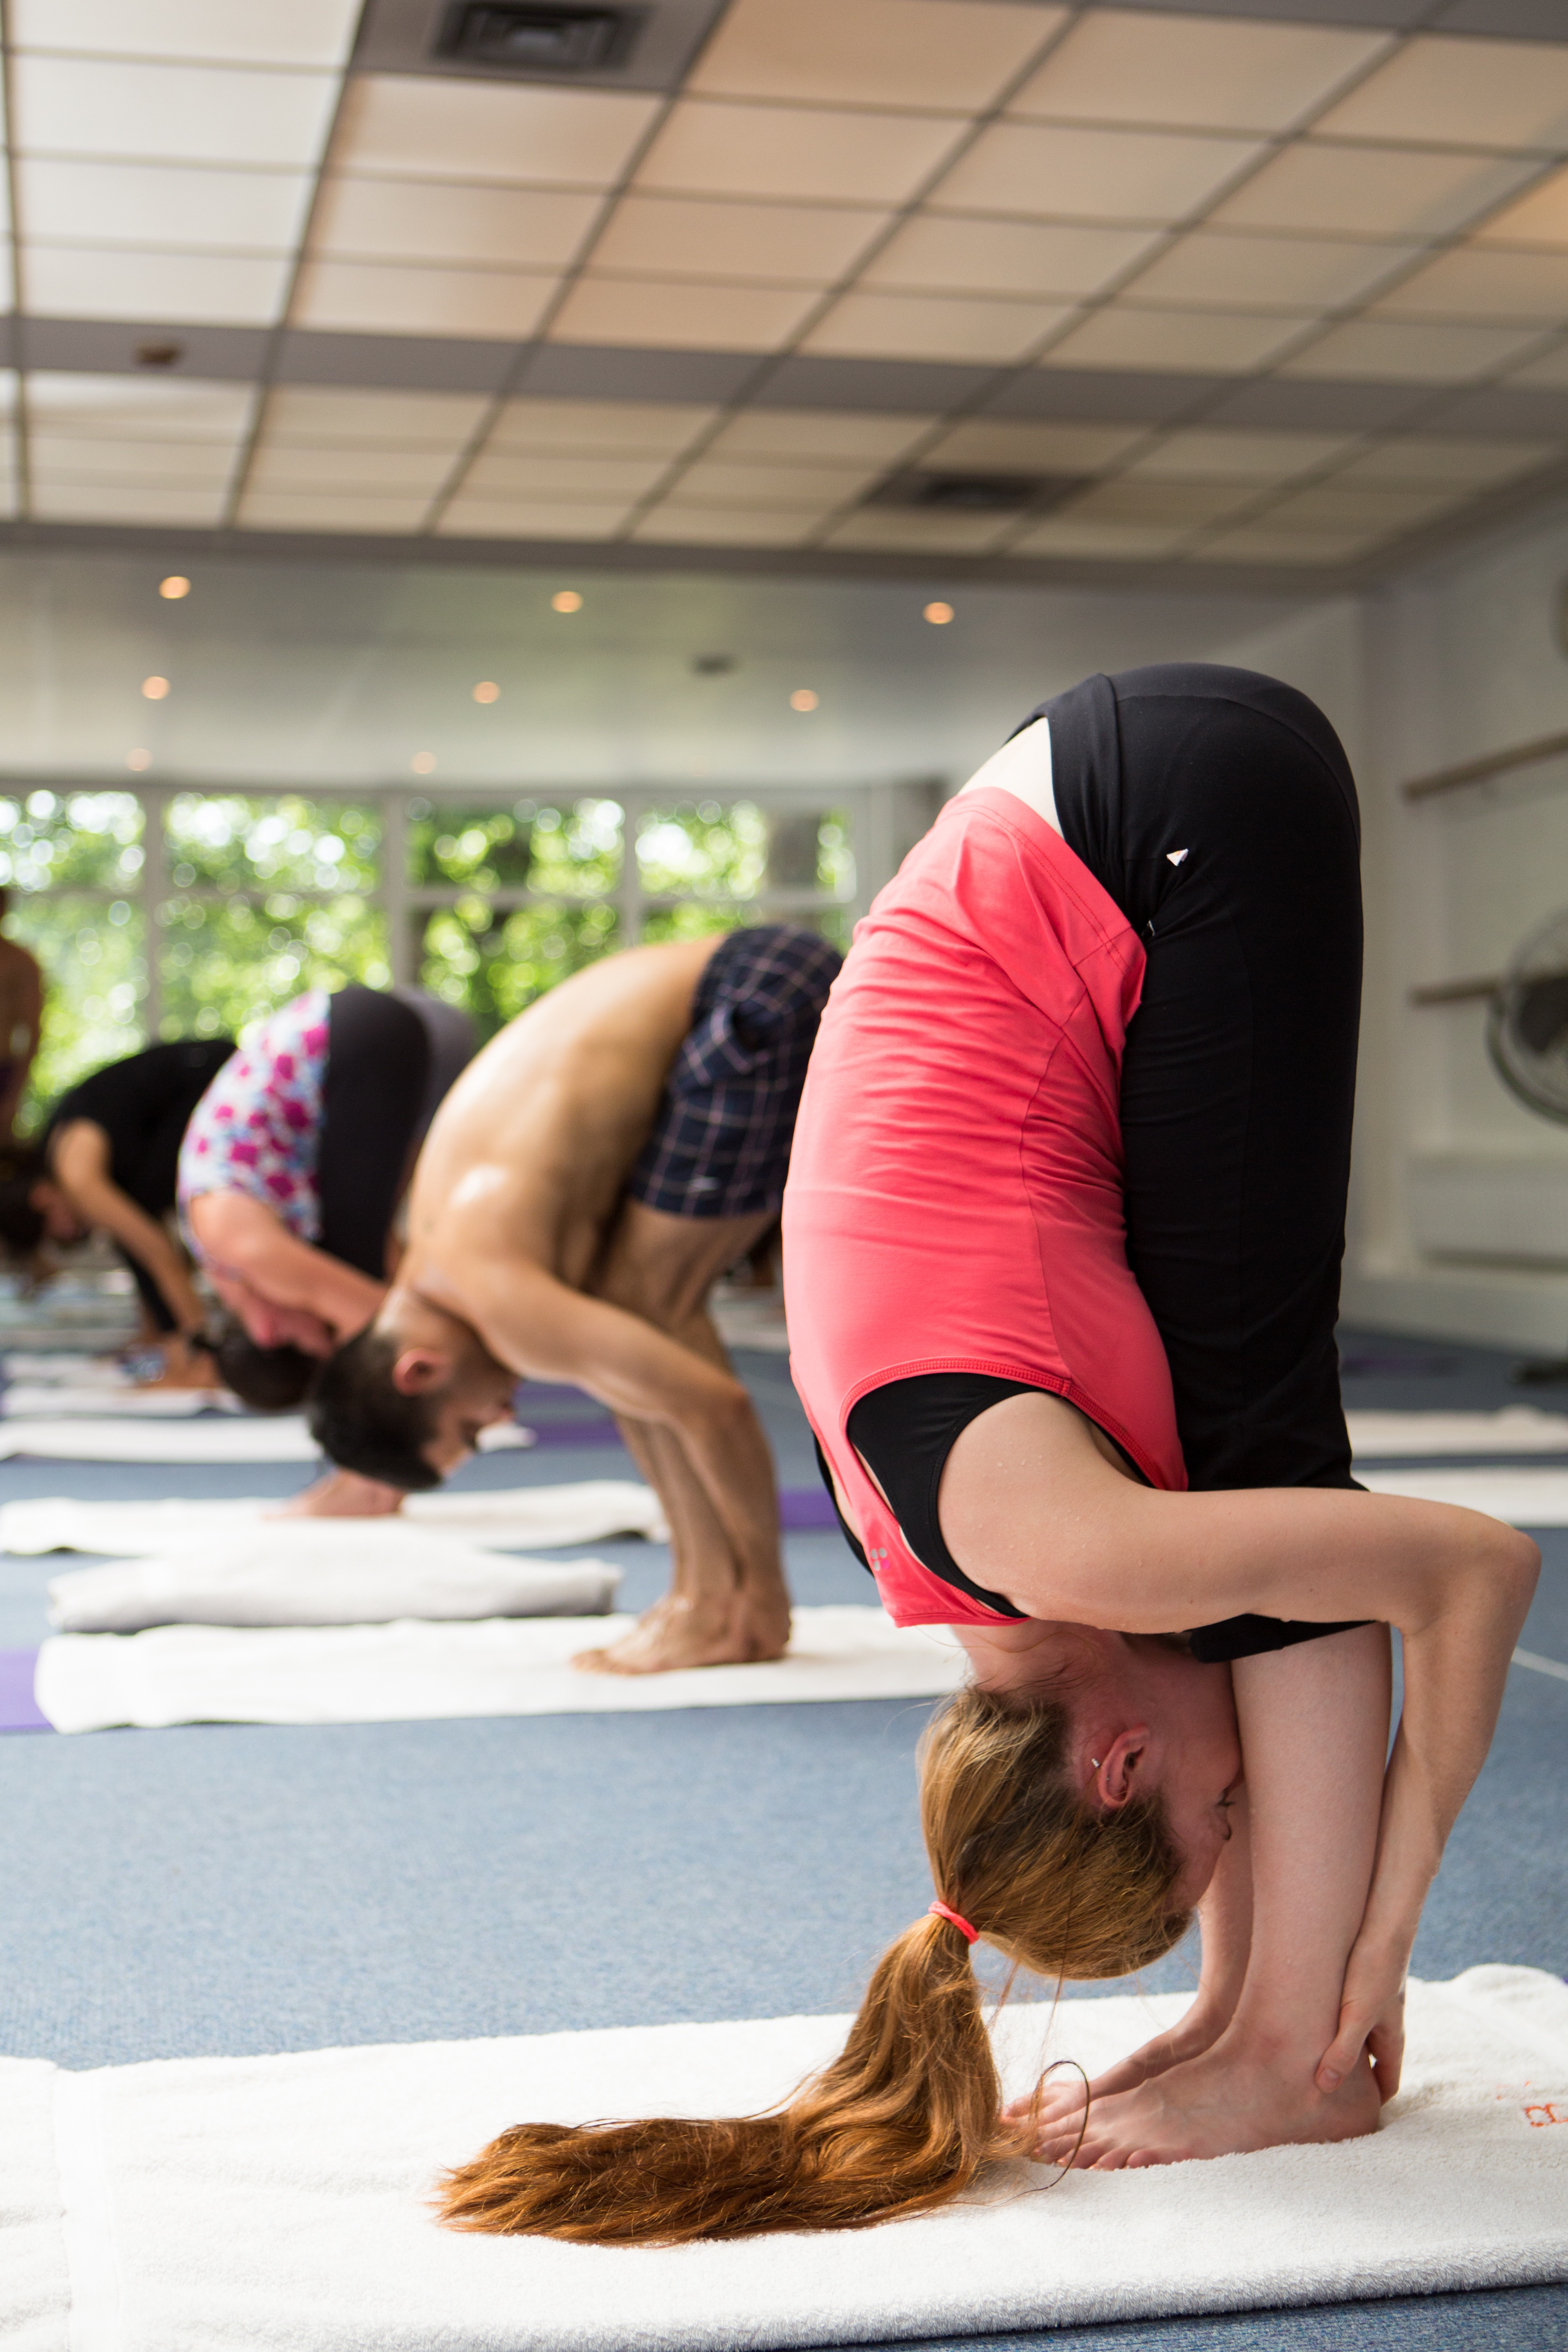
Bend your knees as much as you need to so that your legs and torso meet. You are trying to sandwhich (*Japanese Ham Sandwich* to be precise) yourself so that your upper body and your lower body are pressed tightly together, so that there is no gap for light, no gap for air, your upper and lower body have become one.
Reach around your legs take hold of your heels palms up, with your hands, thumbs and forefingers together and touching the floor. Bend your elbows and press the inside of your forearms completely against the back of your calves. Your goal is to eventually touch your forearms exaclty on your calfs and get your elbows as close as possible so your forearms and eblbows will be invisable from the mirror.
Depending on your flexibility you may not immeditaly be able to grab behind your heels. You can start where  ever you can get to that day, i.e. at the sides of the feet. As you begin to stretch and open up, move your hands to the back of the heel. We all start from different positions with different strengths and levels of flexabiltities, the trick to progressing is to keep trying. To keep working to your edge, if we get to the edge of our ability every class this edge will move deeper and deeper. Only you know where your edge is, so don’t cheat yourself, equally don’t force yourself past it.
A locked knee means that your knees are in full extension.
DO NOT JUST RAM THE KNEE BACK !
 The quadriceps are the hamstrings’ antagonistic muscles. Your hamstrings bend your knee and your quadriceps extend the knee. If you want to “Lock your knee” you have to use your quadriceps. If you are working constantly and consistently to contract your quadriceps, your hamstrings will begin to open up and stretch. Using your own strength you won’t pull muscles. However make sure to never bounce into this posture EVER. If you bounce, you are using momentum and your strength and this combination can pull/injure your muscles. There will be a gentle stretching discomfort down the back of your legs. This is ok. You never, ever, want to push into something that is painful, or shooting pain.
Discomfort = ok, pain = back off.
Remember: keep breathing, keep smiling, keep pulling gently. Relax your head, breathe, pull up using your biceps, breathe, roll forward, breathe, hips up, breathe, face touching your legs below the knees, breathe, contract your quadriceps, breathe, ignore the sweat, breathe, pull, breathe, pull.
If you have lower back injury, or weakened core, you may want to walk your arms back up your legs until standing.
Hands to Feet Pose
Benefits:
– increases flexibility of the spine
– increase flexibility of the sciatic nerves
– increased flexibility of most of the tendons and ligaments of the legs.
– strengthens the biceps, thighs and calves
– Improves blood circulation in the legs.